Docker-Compose로 Nginx, Certbot이미지를 사용하여, LetsEncrypt SSL인증서를 발급받는 방법을 알아보도록 하죠
certbot으로 ssl 인증서를 발급받는 방법은 다양하게 있지만,
저는 dns를 이용하여 발급받도록 하겠습니다.
dns를 이용하여 발급받을때는, certbot에서 제공해주는 문자열 제 DNS주소에 TXT레코딩을 입력하면, certbot에서 레코딩이 입력되었는지 확인 후 인증서를 발급해줍니다 !
저는 nginx라는 디렉토리 생성 후 작업을 하도록 하겠습니다.
디렉터리 구조는 아래와 같습니다.
디렉터리 구조
nginx
ㄴ certbot
ㄴ conf
ㄴ www
ㄴ conf
ㄴ nginx.conf
ㄴ test.bigdragon.shop.conf
ㄴ data.bigdragon.shop.conf
ㄴ cert.sh
ㄴ docker-compose.xml
도메인
저는 DNS를 이용하여 인증서를 발급받을 것입니다.
서브도메인마다 인증서를 받지않고 와일드카드(*)를 사용해 인증서를 발급받도록 하겠습니다.
*.domain.com 식으로 인증서를 발급받으면 서브도메인 인증서를 받지않아도 다 같이 사용할 수 있습니다.
nginx.conf
user  nginx;
worker_processes  auto;

error_log  /var/log/nginx/error.log notice;
pid        /var/run/nginx.pid;


events {
    worker_connections  1024;
}


http {
    include       /etc/nginx/mime.types;
    default_type  application/octet-stream;
    #log_format  main  '$remote_addr - $remote_user [$time_local] "$request" '
    #                  '$status $body_bytes_sent "$http_referer" '
    #                  '"$http_user_agent" "$http_x_forwarded_for" -- $host';
    #access_log  /var/log/nginx/access.log  main;

    sendfile        on;
    #tcp_nopush     on;

    keepalive_timeout  65;

    #gzip  on;

    include /etc/nginx/conf.d/*.conf;
}
nginx.conf는 있는 그대로 복사하셔도 무방합니다 :)
test.Exampledomain.shop.conf ( 사용할 서브도메인.conf)
upstream myWeb {
    server 118.67.123.51:443; #리버스 프록시 사용을 위해
}
log_format  main  '$sent_http_X_DEBUG_MESSAGE';

server {
        listen 80; #리스닝 포트
        server_name test.bigdragon.shop; #접근 도메인
        #letsencrypt 도메인 확인
        location /.well-known/acme-challenge/ {
            root /var/www/certbot;
        }

        # path
        location / {
            return 301 https://$server_name$request_uri;
        }
}
server {

    listen 443 ssl;
    server_name test.exampledomain.shop; #사용할 서브도메인을 입력
    ssl_certificate /etc/letsencrypt/live/exampledomain.shop/fullchain.pem; #사용할 메인도메인 입력
    ssl_certificate_key /etc/letsencrypt/live/exampledomain.shop/privkey.pem; #사용할 메인도메인 입력

    location / {
        add_header X_DEBUG_MESSAGE "test.exampledomain.shop";
        proxy_pass https://myWeb;
        proxy_http_version 1.1;
        proxy_set_header Upgrade $http_upgrade;
        proxy_set_header Connection 'upgrade';
        proxy_set_header Host $host;
        proxy_cache_bypass $http_upgrade;
    }
    access_log  /var/log/nginx/access.log  main;
}
server_name : 호스트를 보고 자기 호스트에 맞는곳으로 연결된다 위 기준 test.exapledomain.shop 으로 접속 시 위 server가 리스닝 하고있다가 통신함 !
pullchain.pem : letsencrypt인증서를 발급받으면 자동 생성됨 docker-compose.yml에서 볼륨 마운트 되어있으니, 서브도메인만 신경써주도록하죠 !
privkeykey.pem : letsencrypt인증서를 발급받으면 자동 생성됨 docker-compose.yml에서 볼륨 마운트 되어있으니, 서브도메인만 신경써주도록하죠 !
data.bigragon.shop.conf
log_format  data  '$sent_http_X_DEBUG_MESSAGE';

server {
    listen 80;
    server_name data.exampledomaim.shop;
    location /.well-known/acme-challenge/ {
        root /var/www/certbot;
    }

    location / {
        return 301 https://data.exampledomaim.shop$request_uri;
    }
}
server {
    listen 443 ssl;
    server_name data.example.shop;

    ssl_certificate /etc/letsencrypt/live/exampledomaim.shop/fullchain.pem;
    ssl_certificate_key /etc/letsencrypt/live/exampledomaim.shop/privkey.pem;

    location / {
        add_header X_DEBUG_MESSAGE "data.example.shop";
        root /usr/share/nginx/html;
        index index.html;
        try_files $uri $uri/ /index.html;
    }
    access_log  /var/log/nginx/access.log  data;
}
cert.sh
docker-compose run --rm --entrypoint "\
    certbot certonly \
    -d *.exampledomaim.shop \
    --email example@gmail.com \
    --manual --preferred-challenges dns \
    --server https://acme-v02.api.letsencrypt.org/directory \
    --force-renewal" certbot
echo

echo "### Reloading nginx ..."
docker-compose exec nginx nginx -s reload
Letsencrypt인증서를 발급받는 ssh 입니다
인증서 발급 후 nginx를 재시작 하는 부분이 재일 아래쪽입니다.
docker-compose.yml
version: '3.8'
services:
    certbot:
        image: certbot/certbot
        container_name: certbot
        volumes:
            - ./nginx/certbot/conf:/etc/letsencrypt
            - ./nginx/certbot/www:/var/www/certbot
        entrypoint: "/bin/sh -c 'trap exit TERM; while :; do certbot renew; sleep 12h & wait $${!}; done;'"
    nginx:
        image: nginx
        container_name: nginx
        ports:
            - "80:80"
            - "443:443"
        volumes:
            - ./nginx/certbot/conf:/etc/letsencrypt
            - ./nginx/certbot/www:/var/www/certbot
            - ./nginx/conf/nginx.conf:/etc/nginx/nginx.conf
            - ./nginx/conf/test.exampledomaim.shop.conf:/etc/nginx/conf.d/test.exampledomaim.shop.conf
            - ./nginx/conf/data.exampledomaim.shop.conf:/etc/nginx/conf.d/data.exampledomaim.shop.conf
        command: "/bin/sh -c 'while :; do sleep 6h & wait $${!}; nginx -s reload; done & nginx -g \"daemon off;\"'"
위 4가지 파일을 만든 후
1. nginx 디렉토리로 이동하여 ./cert.sh 명령어를 통해 인증서를 발급받아준다.
인증서 발급 시 특정 문자열을 TXT레코드에 입력하라고하는데, 본인이 관리하는 DNS서버에 해당 TXT레코드를 작성해준다 !
2. docker-compose run -p 443:443 -p 80:80 nginx 명령어로 nginx 실행
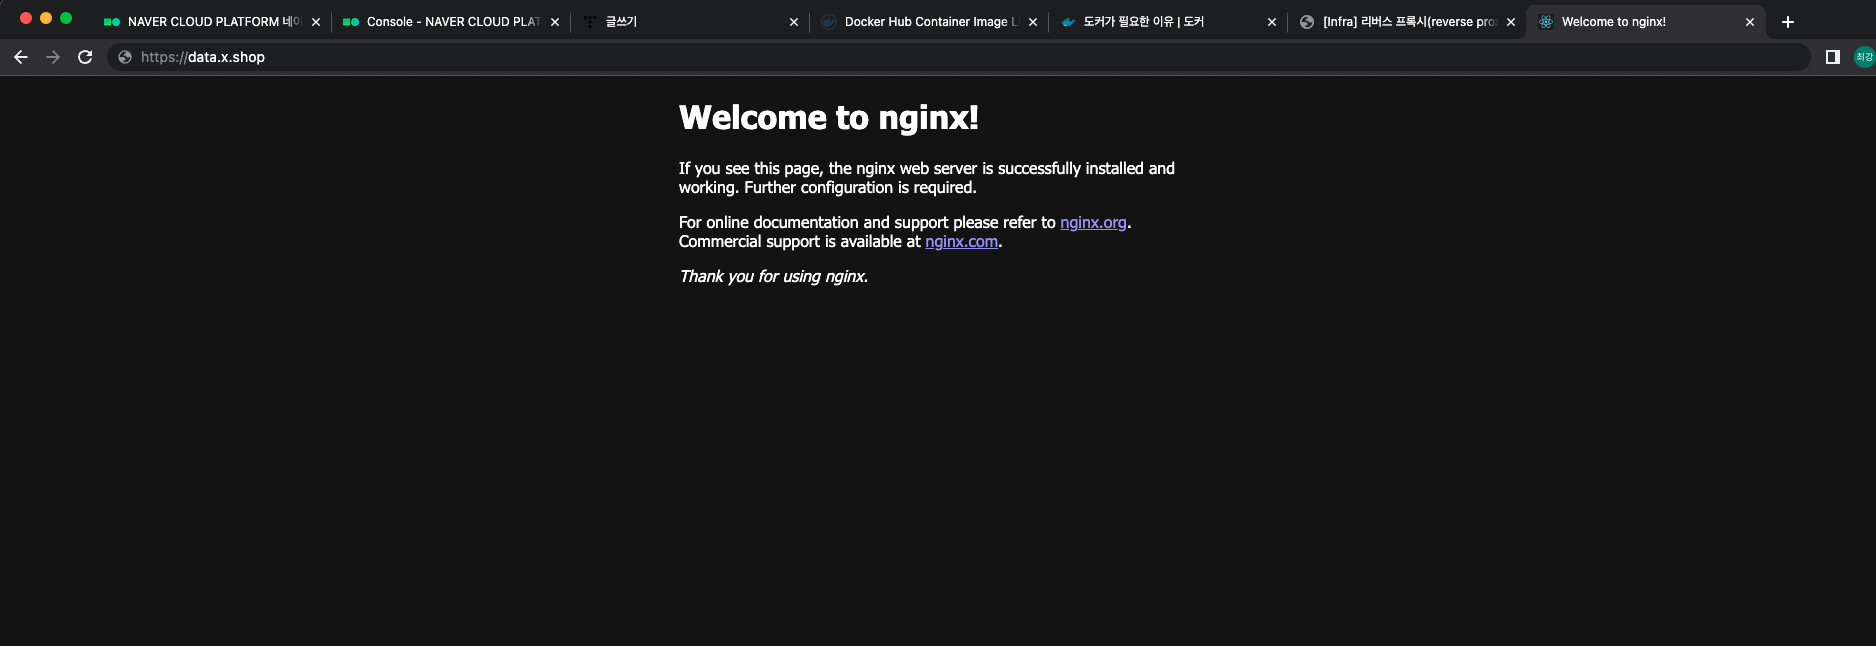
3. https도메인으로 접근하면 잘 접속되는것을 확인 할 수 있습니다 :)
'기록' 카테고리의 다른 글
| brew node version 변경 (0) | 2023.03.18 |
|---|---|
| [Docker] 도커명령어 정리 (0) | 2023.02.02 |
| [Git] Github - GitBash 사용법 (0) | 2022.11.22 |